
Take your time and follow these easy steps and your sticker will look great for many years to come.
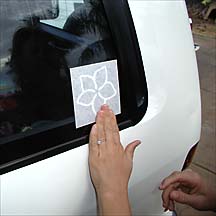
Step 1
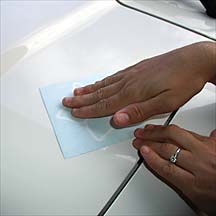
Rub the sticker to be sure the transfer tape is properly adhered to the sticker.
Step 2
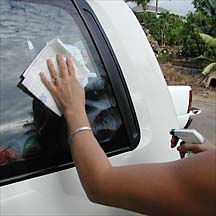
Clean and dry the desired area. Stickers will stick best to clean smooth surfaces.
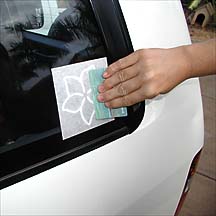
Step 3
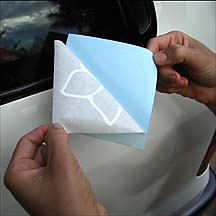
Remove the paper backing SLOWLY making sure the sticker stays adhered to the transparent transfer tape.
Step 4
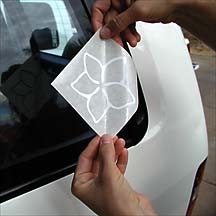
Your sticker is completely removed from the paper backing, and ready to find its home on your vehicle or any smooth clean surface.
Step 5
Carefully position the sticker to the desired area. Once the sticker sticks it will be nearly impossible to re-position without destroying the sticker. Rub the sticker from one side to the other, eliminating any air bubbles.
Step 6
Use a hard edged object like a credit card to make sure the entire sticker is fully adhered to the surface.
Step 7
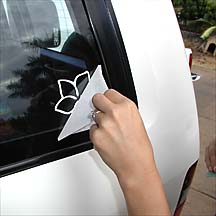
Slowly, very slowly, remove the transfer tape. Making sure no part of the decal sticks to the transfer tape as you remove it.
Step 8
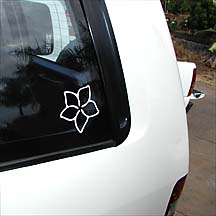
Check for air bubbles. In most cases large air bubbles can be worked to the edge of the sticker. Small air bubbles will naturally disappear after a few days in the sun.
That’s it!
Your sticker is now worry free. It will last through rain, sleet, snow and gentle washings. you can remove the sticker from glass surfaces with a razor blade or in most cases a fingernail will get the removal process started.